Video Tutorials >> #CreateInPlace
Marbled Paper
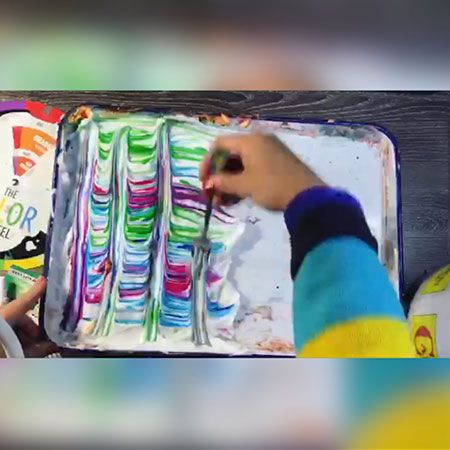
SUPPLIES
- Shaving cream
- Scraper (use a ruler or old gift card)
- Food coloring (or paint, watercolor, whatever you have)
- Fork
- White paper
- Tray to contain the mess (or use a baking sheet, pan or just foil or plastic wrap)
STEPS
- Cover one side of tray with shaving creme (same size as paper, leaving other side clean)
- Experiment with color mixing by adding small drops or lines of color
- Use fork to begin the "marbled" pattern
- Press paper into your shaving cream
- Move paper to clean surface side and scrape away the shaving cream with the ruler or gift cards
- Use the same print multiple times or add more colors and/or change the patterns with the fork
- Only print on the front and back if using heavy paper
See the full video tutorial by Ms. Q below!